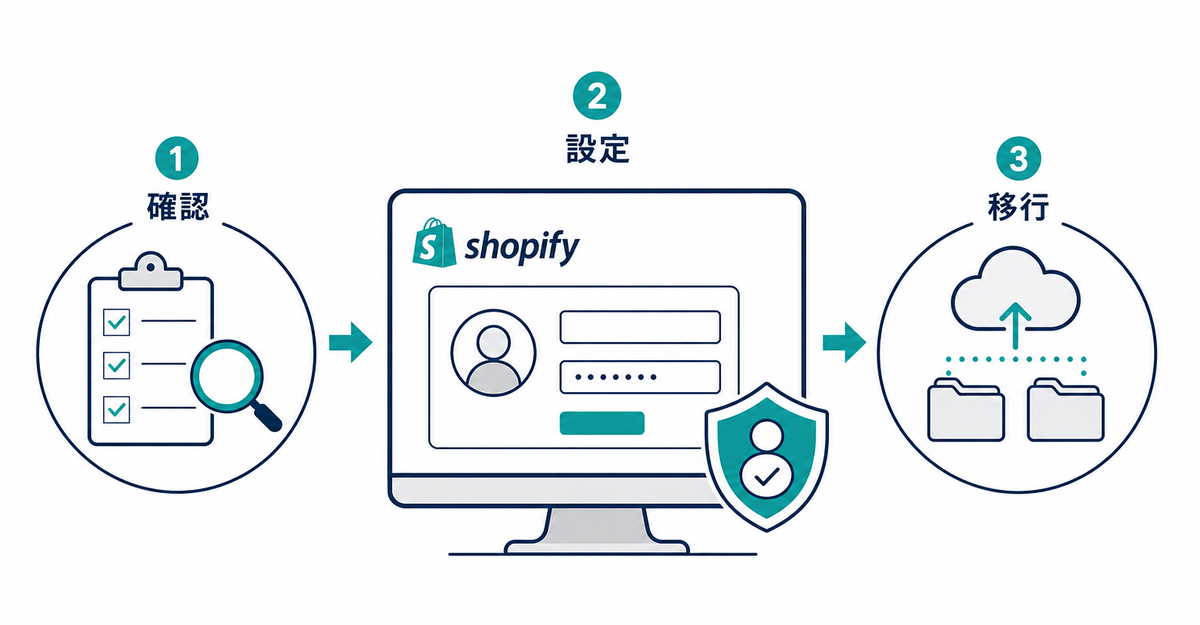
In short: Move to Shopify's new customer accounts in three stages: review your current setup, add a sign-up form, and migrate. Legacy customer accounts were deprecated on February 26, 2026. First, review the customizations you made to legacy customer accounts and the upgrade limitations. Then prepare the fields you need with a sign-up form app such as Howdy, and upgrade from the Shopify admin.
Key points
- Work through three stages: review, setup, and migration
- Legacy customer accounts were deprecated on February 26, 2026
- Review the customizations you made to legacy customer accounts and the six limitations in the upgrade guide
- New customer accounts have no built-in sign-up form, so you need an app to collect names, addresses, birthdays, and other details
- You migrate with the upgrade option in the Shopify admin, and you can go back to legacy customer accounts within 30 days
Where do you start with new customer accounts?
Start by reviewing the customizations you made to legacy customer accounts. Step 1 of Shopify's upgrade guide tells you to review your customizations, such as links to subscription management, write them down, and rebuild them before you upgrade.
Customizations include changes you made to the customer account templates in the theme editor and changes to .liquid code. In step 3, you replace the customizations you reviewed with apps that support customer accounts. If you used an app to customize legacy customer accounts, its developer may have already updated it to support customer accounts.
Source: Shopify Help Center: "Upgrading to customer accounts from legacy customer accounts"
What do you check before migrating?
Check the six limitations listed in Shopify's upgrade guide and the deadline for switching back, which is 30 days after the upgrade. The six limitations cover custom login and sign-up pages, workflows, customer segments, domains for each market, Multipass, and sign-in page customization.
Workflow triggers and automations based on legacy customer accounts can't be migrated. Customer segments that include the customer_account_status filter won't work as expected after the upgrade. You can't add blocks to the sign-in page. For theme customizations, the fields you collect, and how to notify existing customers, see 5 things to check before migrating from legacy customer accounts.
Source: Shopify Help Center: "Upgrading to customer accounts from legacy customer accounts"
How do you add a sign-up form?
New customer accounts have no built-in sign-up form. When someone logs in with a new email address, Shopify creates a customer profile automatically. To set up Howdy, follow articles 1 to 4 in Howdy Help in order. The setup has four steps:
- Create customer metafields for the information you want to collect
- In the theme editor, turn on Howdy's app embed (app block) and save
- In Howdy's Registration Form Settings, add or edit fields and save
- Add the Howdy app block to the profile page
For the setup steps, see How to add a sign-up form to new customer accounts (Howdy). For ways to use the information you collect, see 7 ways to use birthdays, addresses, and consent collected at sign-up (Shopify new customer accounts). Separate articles cover specific settings, such as requiring sign-up before checkout or using the form alongside Shop login.
Sources: Shopify Help Center: "Customer accounts" / Howdy Help: "1. [Preparation] How to set up customer metafields" / Howdy Help: "2. [Initial setup] Embed the form in your theme" / Howdy Help: "3. [Initial setup] Registration form" / Howdy Help: "4. [Initial setup] Profile page"
How do you migrate if you use another sign-up form app?
If your current app saves a field to customer metafields, choose the same definition for a custom field in Howdy. If the app saves information in its own storage, export that information before you delete the app, and then import it as customer metafields.
To import, first create the customer metafield definitions. Then add columns in the format customer.metafields.namespace.key to a CSV file and import the file with Import on the Customers page. For the steps, see How to migrate to Howdy from another sign-up form app.
Sources: Howdy Help: "How to set up terms of service with a link" (Japanese) / Shopify Help Center: "Uninstalling apps" / Shopify Help Center: "Importing and exporting customers"
Related articles
- What are Shopify's new customer accounts? Differences from legacy accounts and what to do in 2026
- How to add a sign-up form to new customer accounts (Howdy)
- 5 things to check before migrating from legacy customer accounts
- How to migrate to Howdy from another sign-up form app
- 7 ways to use birthdays, addresses, and consent collected at sign-up (Shopify new customer accounts)
- Sign-up forms for Shopify new customer accounts: 14 frequently asked questions
- How to require sign-up before checkout in Shopify (Howdy)
- How to use a sign-up form alongside Shop, Google, and Facebook login
- How to show membership tiers on the account page in new customer accounts
Frequently asked questions
Questions about new customer accounts? Ask us anytime.
We can help you migrate from legacy customer accounts or from another sign-up form app. Our dedicated team at Howdy creates customer metafields, sets up sign-up form fields, and places blocks on the profile page for you, free of charge.