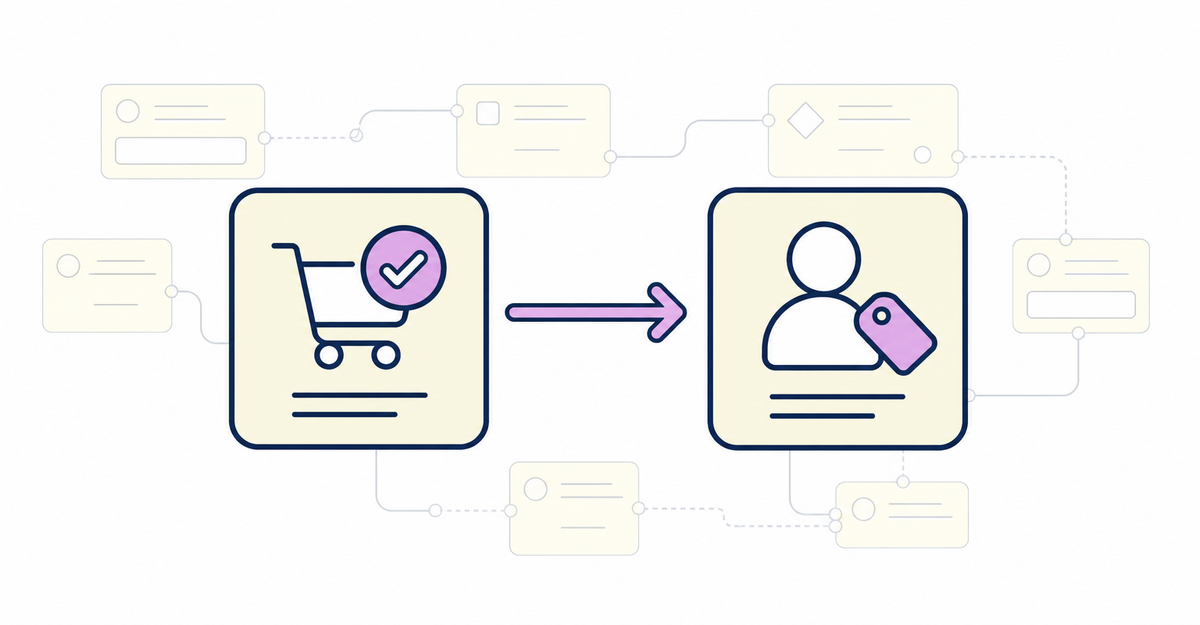
In short: By combining the "Order created" trigger and the "Add customer tags" action in Shopify Flow, you can automatically add a customer tag every time a customer places an order. Once you create a single workflow, you no longer need to tag customers by hand for each order. You can use the tags you add directly as conditions for customer segments and discount codes.
Howdy is an app that adds a sign-up form to Shopify's new customer accounts. By combining the customer metafields collected with the sign-up form and the customer tags added by Shopify Flow with each order, you can separate first-time buyers and customers who bought specific products, and use them as conditions for segments and coupon campaigns.
When you finish the steps in this article, you'll have one workflow that automatically adds a customer tag every time an order is created. You enter the tag only once, and later orders are tagged without any manual work.
Key points
- Combining the "Order created" trigger and the "Add customer tags" action in Shopify Flow adds customer tags automatically with each order, and you can use the tags directly as customer segment conditions
- Enter tags separated by commas to add multiple tags at once
- The "Add customer tags" action works with several triggers besides orders, such as customer creation and subscription contract creation, and official templates are available, including tagging first orders and in-person purchases
- Select an existing order and use "Run Flow automation" to check how the workflow behaves before going live
- Other apps may overwrite tags at the same moment; if tags are missing, check with the app developer or add a wait step to the workflow
What do you need to prepare to tag customers automatically when an order is created?
Shopify Flow is free to use from the Shopify admin, so you don't need any additional apps or code edits. Deciding on the names of the tags to add with each order before you build the workflow makes setup go more smoothly.
The "Order created" trigger starts a workflow when a customer places an order, or when a draft order is marked as paid and converted into an order. This trigger passes along the data of the created order and also gives access to the customer linked to the order, so you can follow it with customer actions such as "Add customer tags". You can also combine other actions with the same "Order created" trigger, such as updating customer metafields or updating the customer note.
The "Add customer tags" action adds tags to the customer who triggered the workflow. The customer ID is a hidden field set automatically from the trigger, so the only field you need to fill in is the tags field.
The basics of combining triggers and actions in Shopify Flow are covered in How to automate post-sign-up tasks with Shopify Flow: tagging and metafield updates.
Sources: Shopify Help Center: "Order created" / Shopify Help Center: "Add customer tags"
Can you use the "Add customer tags" action with triggers other than orders?
Yes. Besides order creation, the "Add customer tags" action can be combined with several customer-related triggers, so you can choose what prompts the tagging.
Customer-related triggers include customer account disabled, customer account enabled, customer created, draft order created, and subscription contract created. You can also use it with order-related triggers: order cancelled, order fulfilled, order paid, order risk analyzed, order transaction created, fulfillment created, fulfillment event created, refund created, and tender transaction created. By choosing between these and "Order created", you can, for example, tag only orders whose payment is confirmed, or add a tag when fulfillment is complete.
Source: Shopify Help Center: "Add customer tags"
When are customer tags added at order creation useful?
Shopify provides several official templates for workflows that add customer tags when an order is created, each combining conditions for a specific situation, so you can use them as a reference for your setup.
There are templates that tag a customer's first order, organize customers by lifetime spend tier, organize customers by order count tier, tag customers by the payment currency they used, and tag customers who purchased in person. The lifetime spend and order count tier templates are intended for targeted loyalty programs and marketing communications.
These templates combine the "Order created" trigger with a step that checks conditions and the "Add customer tags" action. You can use a template as is, and you can change the tag names and condition thresholds to fit how your store operates.
Source: Shopify Help Center: "Order created"
How do you set up the workflow?
In the Shopify admin, open Shopify Flow from Apps and click "Create workflow". Choose "Order created" from the list of triggers.
Next, add an action and choose "Add customer tags". Enter the tag you want to add in the Tags field and press Enter to confirm each tag. To add multiple tags at once, separate them with commas. For example, entering "tag1,tag2,tag3" adds three separate tags: tag1, tag2, and tag3. Tags are not case-sensitive.
Enter a workflow name and save, and you return to the screen showing the trigger and actions. The workflow is turned off when you first save it, so switch the toggle at the top of the screen to on. Tags are added starting with orders created after you turn it on. To change the settings, click the workflow's name in the workflow list to open the editor.
Sources: Shopify Help Center: "Order created" / Shopify Help Center: "Add customer tags"
How do you check that the workflow works?
You can check whether the workflow works correctly before going live by creating an order on the storefront, paying a draft order, or using "Run Flow automation" on an existing order.
- Create an actual order on the storefront
- Create a draft order, mark it as paid, and convert it into a regular order
- Select an existing order in the Shopify admin and use the "Run Flow automation" option
After creating or selecting an order with one of these methods, open the customer's profile and check that the tag you set has been added.
Source: Shopify Help Center: "Order created"
Why is a tag sometimes missing from the customer even though Flow added it?
The cause is another app or a staff member in the admin overwriting the tags. Overwriting happens because many apps use the same events as Flow, such as order creation.
When Flow finishes first and another app then makes an edit that doesn't account for the new tag, the tag Flow added appears to have disappeared.
There are three steps to fix this. First, if the app has an action you can call after Flow runs, use it. If there's no such action, contact the app developer and ask how to keep tags from being overwritten. If the app can't solve it, insert a "Wait" step in the workflow to delay when the tag is added.
How to use customer tags for detection is also covered in How to collect extra details from existing customers in Shopify: new-member detection with customer tags. The tags you add with each order can be used directly as conditions for the customer segments in How to update membership tiers automatically by order count and amount spent in Shopify: customer segments.
Source: Shopify Help Center: "Add customer tags"
Wrapping up
Once you finish setting up automatic customer tagging at order creation, you can do these three things.
- Automatically add customer tags with each order by combining the "Order created" trigger and the "Add customer tags" action
- Add multiple tags at once by entering them separated by commas
- Find the cause and fix it when tags are overwritten and go missing
If you use a template, you can prepare the workflow just by choosing the trigger and action, then adjust the tag names and condition thresholds to fit how your store operates.
Related articles
- How to automate post-sign-up tasks with Shopify Flow: tagging and metafield updates
- How to update membership tiers automatically by order count and amount spent in Shopify: customer segments
Frequently asked questions
Try Howdy free for 14 days
With customer tags added automatically every time an order is created, it becomes easier to build customer segments with tags and use them as conditions for coupon campaigns. Our dedicated team creates your customer metafields, sets up your sign-up form fields, and places your profile page blocks for free.