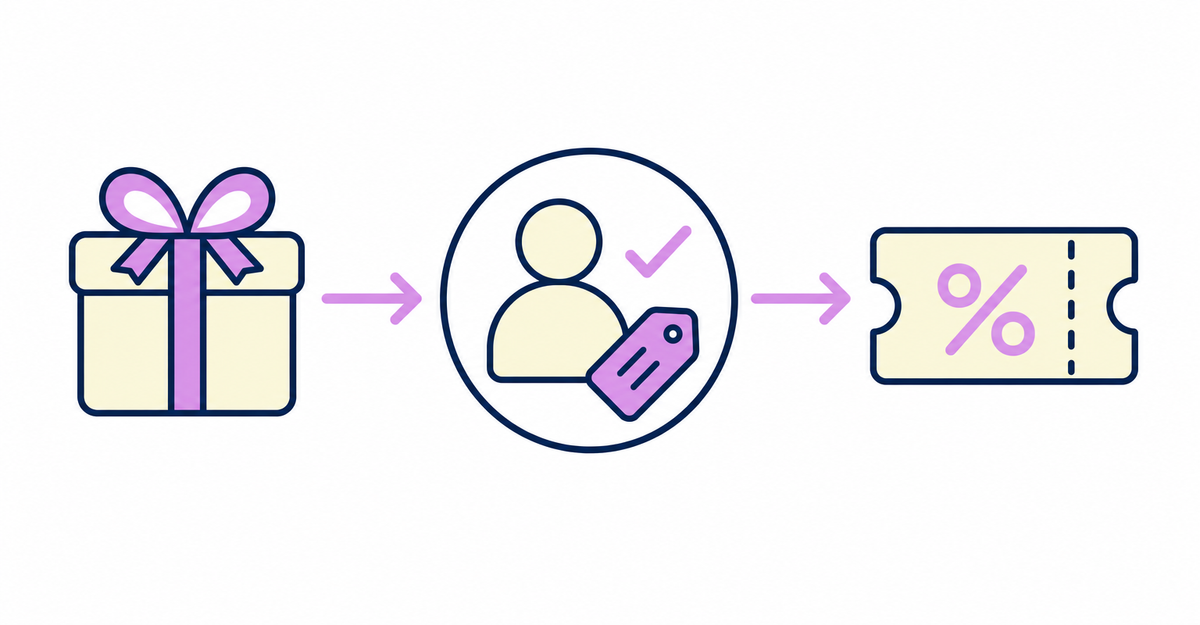
In short: Collect each customer's birth month as a customer metafield with Howdy's sign-up form, then create a customer segment that uses that value as its condition. You can then limit a discount code's eligibility to that segment. Only customers in the segment can use the coupon code, so you don't need to pick out each eligible customer one by one for every birth month. Send the coupon code to the target segment from a template in Shopify Messaging, an app made by Shopify.
Howdy is an app that adds a sign-up form to Shopify's new customer accounts. Birth months and birthdays aren't among Shopify's standard fields, so you create a customer metafield to store them and collect them with a custom field on the sign-up form. The collected values connect directly to Shopify's customer segment and discount features, with no extra apps to install and no code to edit.
When you finish the steps in this article, you'll have customer segments split by birth month and discount codes that only those segments can use, and you'll be able to send them with Shopify Messaging. You can run campaigns such as sending a 10% off coupon only to customers born in July, repeating them each month.
Key points
- Collect the birth month with a customer metafield created in the Shopify admin and a custom field on Howdy's sign-up form
- A customer segment that uses the birth month value as its condition lets you target customers with the same birth month as a group
- If you manage birth months with customer tags, you can create the segment with a customer_tags CONTAINS condition
- When you choose a customer segment in the eligibility section of a discount code, only customers in that segment can use it
- You can set up to 100 customer segments per discount code
- Send the coupon code to the target segment from a template in the Shopify Messaging app
What do you need to prepare to collect birth months?
You collect birth months by combining a customer metafield created in the Shopify admin with a custom field added to Howdy's sign-up form. You create the metafield in the Shopify admin and add the custom field in the app's admin.
In the Shopify admin, go to Settings > Metafields and metaobjects > Customers, click Add definition, and create a metafield to store the birth month. You'll also use the namespace and key (for example, custom.birth_month) in the customer segment condition later, so note them down exactly as you created them.
Next, in Howdy's Registration Form Settings, click the button to add a custom field and add a field that matches the metafield you created. In the choices, enter values written exactly the same way as the values registered in the metafield. Even a one-character difference, such as half-width vs. full-width digits, causes an error, so enter them exactly as registered in the metafield. The display label, description, and whether the field is required are up to you.
Source: Howdy Help: "How to collect birth months and issue birthday discount coupons" (Japanese)
Adding custom fields to the sign-up form and embedding it in your theme are explained in How to add a sign-up form to new customer accounts (Howdy).
How do you group customers by birth month?
Create a customer segment that uses the birth month value as its condition. The condition can use either the metafield value or a customer tag. If you use customer tags, add the birth month tags in advance with Shopify Flow.
In the Shopify admin, go to Customers > Segments and click Create segment. In the editor, enter a condition that combines the metafield you created with a birth month value (for example, metafields.custom.birth_month = 'July') and save it to create a segment of only the customers with that birth month. Click Run query (「クエリを実行」) to see the number and list of customers who match the condition, so you can check who's included before saving.
If you add birth month customer tags with Shopify Flow, you can create the same kind of segment with the condition customer_tags CONTAINS 'July'. customer_tags is a filter that narrows down customers by their customer tags, and CONTAINS is an operator that targets customers with a tag that exactly matches the one you specify. Tags aren't case-sensitive.
You can create customer segments from the editor on the Customers page or from Create segment on the Segments page. The admin also offers default templates you can use as a starting point instead of building conditions from scratch, so you can add a template and then add the birth month condition in the editor.
Sources: Howdy Help: "How to collect birth months and issue birthday discount coupons" (Japanese) / Shopify Help Center: "Shopify-based customer segment filters" / Shopify Help Center: "Creating customer segments"
How to build a workflow that adds customer tags automatically at sign-up is covered in How to automate post-sign-up tasks with Shopify Flow: tagging and metafield updates.
How do you create a coupon limited to a customer segment?
Create a discount code in the Shopify admin, then choose and add the target customer segment in the Eligibility section.
In the Shopify admin, go to Discounts, click Create discount, and choose a discount type. To take money off the order total, choose Amount off order. After you enter the coupon code, choose Customer segments in the Eligibility section, select the birth month segment you created, click Add, and save.
Customer segments let you offer discounts to groups of customers with similar characteristics. There are limits on how many you can set: up to 5 customer segments per automatic discount and up to 100 per discount code. To change the eligibility of an existing discount later, choose the customer segments again in the same Eligibility section on the edit page. To exclude specific customers, deselect them on the edit page.
Sources: Howdy Help: "How to collect birth months and issue birthday discount coupons" (Japanese) / Shopify Help Center: "Managing and editing discounts"
The steps for making a prefecture-based customer segment eligible for a discount are in How to segment customers by prefecture in Shopify and send coupons: area-limited campaigns.
How do you deliver the coupon code to customers?
Use a template in Shopify Messaging, an app made by Shopify, to send the coupon code to all customers in each month's birth month segment at once.
Install Shopify Messaging, open Templates (「テンプレート」) in the app, and click Create template (「テンプレート作成」). Choose Birthday (「誕生日」) under Holidays and events (「祝日とイベント」), select the discount you created, and save the template.
In the Templates list, check the template you created and click Create email (「メールを作成」). For the recipients, choose the birth month segment. After checking the content with Send test (「テスト送信」), choose Review (「レビュー」), then set the date and time with the Schedule send (「送信を予約する」) button. At that date and time, an email with the coupon code goes to every customer in the target segment. For customers who use the LINE app, you can also send it through LINE.
Source: Howdy Help: "How to collect birth months and issue birthday discount coupons" (Japanese)
How do you send coupons to customers born in different months?
Prepare one segment and one discount code for each birth month, and repeat the same steps for each month. The more birth months you target, the more segments and discount codes you need.
For each birth month, create a segment that uses the metafield value (or customer tag) as its condition and a discount code whose eligibility is that segment. For example, customers born in July and customers born in August each need their own segment condition and coupon code.
Once you have a segment and discount code for each month, you can repeat the coupon campaign for each month's birthday customers just by choosing the matching Shopify Messaging template and recipient segment. You can deactivate a month's discount after the campaign ends, even if it hasn't expired. In the admin, go to Discounts, click the discount name, and choose Deactivate to pause it. Customers who enter a deactivated code see an error saying no valid discount matches the code.
To use the same birth month coupon the next year, you can reactivate an expired discount. When you reactivate it, the discount's status returns to Active, but no end date is set, so set a new end date for the next period you'll use it.
Sources: Howdy Help: "How to collect birth months and issue birthday discount coupons" (Japanese) / Shopify Help Center: "Managing and editing discounts"
Wrapping up
Once you finish setting up birth-month coupons, you can do these three things.
- Group customers by birth month by combining the birth month metafield with customer segments
- Create coupons that only eligible customers can use, with discount codes whose eligibility is a customer segment
- Send coupon codes to birth month segments all at once from Shopify Messaging templates
You can also use customer tags instead of metafield values, so if you already add birth month tags with Shopify Flow, you can use those tags as the segment condition as they are. Segments and discount codes are set up for each month, so to target more birth months, repeat the same steps.
Related articles
- 7 ways to use birthdays, addresses, and consent collected at sign-up (Shopify new customer accounts)
- How to add a sign-up form to new customer accounts (Howdy)
Frequently asked questions
Try Howdy free for 14 days
By combining a birth month customer metafield, customer segments, and discount codes, you can start sending coupons only to customers in their birth month. Our dedicated team sets up your customer metafields, sign-up form fields, and profile page blocks for free.