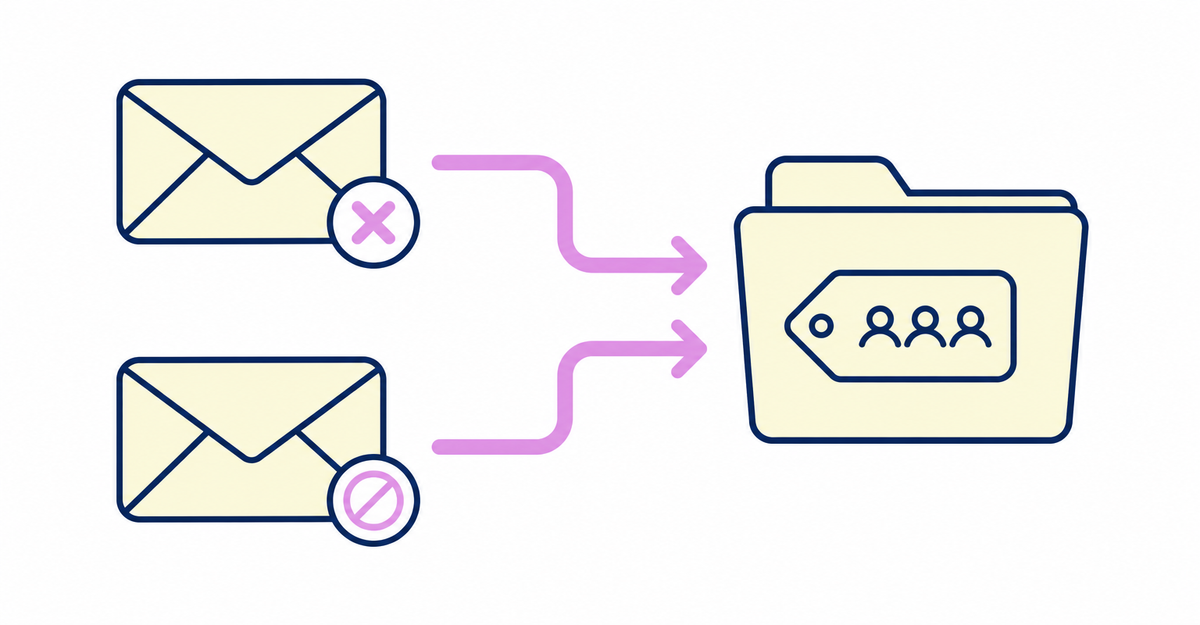
In short: In Shopify customer segments, use the Email subscription status filter (email_subscription_status) and combine two values, NOT_SUBSCRIBED (not subscribed) and UNSUBSCRIBED (unsubscribed), with the OR connector. This puts customers who haven't agreed to receive email marketing and customers who have unsubscribed into one segment. You can use the segment to review the customer list or export it to a customer CSV file, and you can set it up without installing any additional apps.
Howdy is an app that adds a sign-up form to Shopify new customer accounts. When you collect a newsletter consent checkbox on the sign-up form, whether the box is checked is reflected in Shopify's built-in email marketing subscription setting, so you can filter those customers directly with the customer segment filter covered in this article.
After following the steps in this article, you'll have a segment that groups customers who haven't agreed to email marketing and customers who have unsubscribed, and you'll be able to review that customer list and export it to a customer CSV file. Email subscription status is determined by Shopify's built-in features, so you don't need additional apps or to collect extra customer data.
Key points
- Combining NOT_SUBSCRIBED and UNSUBSCRIBED with the OR connector in the customer segment filter Email subscription status (email_subscription_status) puts customers who aren't subscribed and customers who have unsubscribed into one segment
- email_subscription_status has six values: subscribed, not subscribed, pending, invalid, unsubscribed, and redacted
- You create segments in the query editor under Customers > Segments > Create segment
- From More actions on the segment's details page, you can export the segment to a CSV file, rename it, or delete it
- You can combine other filters with AND or OR to narrow or broaden the conditions
Can you put customers who haven't agreed to email marketing and customers who have unsubscribed into one segment?
Yes. The customer segment filter Email subscription status (email_subscription_status) filters customers by whether they're subscribed to marketing emails.
The available operators are "is equal to" =, "is not equal to" !=, "does not exist" IS NULL, and "exists" IS NOT NULL. To target both customers who aren't subscribed and customers who have unsubscribed, join two conditions with the OR connector. In the query editor, it looks like this:
email_subscription_status = 'NOT_SUBSCRIBED' OR email_subscription_status = 'UNSUBSCRIBED'
The OR connector broadens the target, because a customer only needs to meet one of the criteria to be included in the segment. With this condition, the segment includes both customers who have never agreed to email marketing and customers who agreed and later unsubscribed.
Sources: Shopify Help Center: "Shopify-based customer segment filters" / Shopify Help Center: "Customer segment components"
How to collect newsletter consent with the sign-up form is explained in How to collect newsletter consent at sign-up in Shopify: updating the subscription status.
How many values does Email subscription status have?
Six. Email subscription status is a filter that includes customers in a segment based on whether they're subscribed to marketing emails, and it has the following six values.
"NOT_SUBSCRIBED" (not subscribed) means the customer isn't subscribed to marketing emails, "SUBSCRIBED" (subscribed) means the customer is subscribed to marketing emails, and "PENDING" (pending) means the customer is in the process of subscribing to marketing emails. "INVALID" (invalid) means the marketing status of the customer's email address is invalid, "UNSUBSCRIBED" (unsubscribed) means the customer has unsubscribed from marketing emails, and "REDACTED" (redacted) means the customer's email address has been redacted. Four operators are available: is equal to, is not equal to, does not exist, and exists.
Source: Shopify Help Center: "Shopify-based customer segment filters"
What are the steps to create a customer segment?
You create a customer segment by building a ShopifyQL (Shopify Query Language) query in the query editor under Customers in the Shopify admin. The steps are as follows.
- In the Shopify admin, go to Customers
- Click Segments
- Click Create segment to open the query editor
- Select the Email subscription status filter, and set the operator
=and the valueNOT_SUBSCRIBED -
Add the
ORconnector, and set the operator=and the valueUNSUBSCRIBEDon the same filter - Click Run query (or ▹ Run), and check the matching customers in the list below the editor and the customer count above the editor
- Click Save segment, enter a name for the segment, and click Save
The query editor already contains the clauses FROM customers and SHOW customer_name, note, subscription_status, location, orders, amount_spent, and you customize the segment by adding filters, operators, and values to the WHERE clause. If you want to create a segment from a natural-language description, you can also ask Sidekick.
Instead of building conditions from scratch, you can also start from a template. Click the Templates icon in Customers, optionally filter by category, and click a template card. The corresponding filter name, operator, and value are filled in the query editor automatically.
Source: Shopify Help Center: "Creating customer segments"
How do you fix a wrong condition or review it later?
You can edit the conditions of a segment after you create it. If you set a wrong condition or want to review which customers are included, open the editor again and change the settings.
- In the Shopify admin, go to Customers
- Click Segments
- In the segment index, click the customer segment you want to edit
- In the editor, change the filter, operator, or value
- Click Apply, and check that the customer list shown below the editor is what you expect
- Click Save segment, then Save changes, then Save
To rename a segment, first make sure no other segment is being edited, then go to More actions > Rename on the details page and enter the new name. A segment that's being edited shows Draft next to its name in the segment index.
Source: Shopify Help Center: "Managing customer segments"
Where can you use the segment you created?
On the segment details page, you can see the list of customers in the segment and how many there are. If you want to keep the customer list as a record, you can export it to a customer CSV file.
To export, go to More actions > Export on the details page. You can export a CSV file that includes only the customers in the segment, in a format for spreadsheet programs or a format for plain text.
To rename a segment, use More actions > Rename. To delete it, use More actions > Delete.
Source: Shopify Help Center: "Managing customer segments"
How to check and export terms of service consent is explained in How to check and export customers' terms of service consent in Shopify: metafields and segments.
Can you combine this with other conditions?
Yes. When you use multiple filters, join the conditions with the AND and OR connectors. AND narrows the segment to customers who meet all of the conditions, and OR broadens it to customers who meet any of them.
When you use multiple connectors, use parentheses to group filters. To narrow the customers who aren't subscribed or have unsubscribed to only those who have placed an order before, combine parentheses and AND like this:
(email_subscription_status = 'NOT_SUBSCRIBED' OR email_subscription_status = 'UNSUBSCRIBED') AND number_of_orders > 0
Source: Shopify Help Center: "Customer segment components"
How to create a segment of dormant customers is explained in How to segment dormant customers in Shopify and send coupons: setting a last order date condition.
How do you check that it works after setup?
New customers who match the segment's criteria are added to the segment automatically, and existing customers who no longer match the criteria are removed from it automatically. This keeps the customer segment up to date after setup.
When you edit a segment, make your changes in the editor and then click Apply. Customers who match the criteria are listed below the editor, and the number of matching customers is shown above the editor. Review this list to confirm that the customer segment works as expected, make any necessary changes, and then click Save segment. Test orders and deleted orders are excluded from customer segmentation calculations.
Source: Shopify Help Center: "Managing customer segments"
Related articles
- How to segment dormant customers in Shopify and send coupons: setting a last order date condition
- How to collect newsletter consent at sign-up in Shopify: updating the subscription status
Frequently asked questions
Try Howdy free for 14 days
You can filter customers who haven't agreed to email marketing or have unsubscribed using only Shopify's built-in customer segments. Our dedicated team at Howdy creates customer metafields, sets up sign-up form fields, and places profile page blocks for you, free of charge.