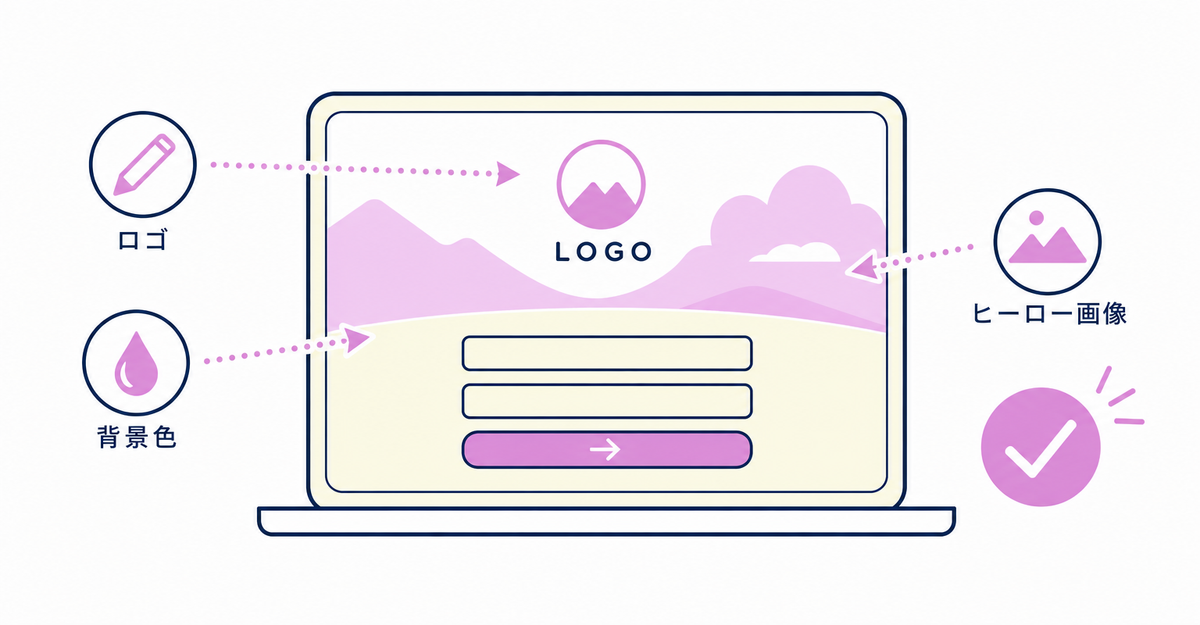
In short: You can change the logo, background color, accent color, and hero image on the new customer accounts login page in the checkout and accounts editor, which you open from Settings > Checkout in the Shopify admin. Select the Sign-in page in the page selector, then change them in the Main settings. By default, the login page URL takes the form "shopify.com/authentication/(your store ID)/login". If you create a subdomain for customer accounts and set it as the primary domain for customer accounts, the URL uses your own domain, such as "account.your-store.com".
You set the logo, colors, and images entirely from the Shopify admin, with no need to edit your theme code. Once you finish the steps in this article, the logo and color scheme of your login page match your store's brand colors, a hero image appears on the login page, and the customer account menu shows the items your store chooses. The logo and colors you change in the shared branding settings also apply to the checkout pages, so a single round of work gives everything from checkout to the login page a consistent look. Setting up the sign-up form itself is covered in How to add a sign-up form to new customer accounts (Howdy).
Key points
- To set the login page logo, colors, and hero image, select the Sign-in page in the editor's page selector, then use the Logo, Colors, and Media sections in the Main settings
- The logo and colors in the shared branding settings apply to the checkout pages, customer account pages, and Sign-in page, and you can override them separately on the Sign-in page and on customer account pages
- The hero image only appears on desktop devices
- You can change the customer account menu from Content > Menus in the admin or from Navigation in the editor, and on desktop you can nest it up to three levels deep
- By default, the login page URL takes the form "shopify.com/authentication/(your store ID)/login". If you create a subdomain for customer accounts and set it as the primary domain, the URL uses your own domain
How do you change the logo on the login page?
In the admin, go to Settings > Checkout to open the editor, then select the Sign-in page in the page selector. In the Main settings, choose an image in the Image field of the Logo section and save. The logo on your login page changes.
To open the editor, click Edit next to the configuration you want to customize in the Configurations (「設定」) section. In the Logo section, you can adjust the logo width as well as the image. If you've uploaded a logo to the shared branding settings, that logo also appears on the Sign-in page, and you can override it with a different image in the Sign-in page's Logo section.
To change the logo on customer account pages such as Profile and order history, select that page in the page selector, open Header from the section icon, and set the logo with the Image field and the Width slider in the Logo section.
Source: Shopify Help Center: "Customizing customer accounts"
How do you set the background color and accent color on the login page?
Select the Sign-in page in the editor, choose the Background and Accent colors in the Colors section of the Main settings, and save. You can set colors for the Sign-in page alone, separately from the checkout pages and customer account pages.
For customer account pages, select the page in the page selector, set the header background color in the Colors section of Header, and set the body background color and accent color in Main.
If a background image is set on your customer account pages, you can remove it, but you can't replace it with a different image. After you remove it and save, you can't set a background image again. You remove the background image from the Store defaults (「ストアのデフォルト」) settings.
Source: Shopify Help Center: "Customizing customer accounts"
Do logo and color changes also apply to checkout?
The logo and colors you change in the shared branding settings apply in three places: the checkout pages, the customer account pages, and the Sign-in page. A logo and colors you change separately on the Sign-in page or on customer account pages apply only to that page.
The shared branding settings are the settings in the editor that the checkout pages and account pages share. If you align your store's overall color scheme in the shared branding settings and want a different logo or color scheme only on the login page, override them in the Sign-in page's Main settings. You can override the colors of customer account pages and the Sign-in page independently of each other.
Source: Shopify Help Center: "Customizing customer accounts"
How do you add a hero image to the login page?
Select the Sign-in page in the editor, upload a hero image in the Image field of the Media section in the Main settings, and save. The hero image only appears on desktop devices.
The Sign-in page is a standalone page where customers log in to their accounts, and you can set its logo, colors, and hero image separately from the checkout pages and customer account pages. For what else you can change beyond the logo, colors, and hero image, see What you can change on the new customer accounts login page: logo, text, and CSS.
Source: Shopify Help Center: "Customizing customer accounts"
Can you change the customer account menu to match your brand too?
Yes. In the admin, go to Content > Menus and open the Customer account main menu (「お客様アカウントのメインメニュー」) to edit it, or edit it from the Navigation menu in the editor.
To change it from the editor, select the Orders page in the page selector, then click Edit for the Navigation menu in the Main sidebar. You can add profile pages, app pages, other online store templates, and external links as menu items. URL redirects don't work in the customer account menu.
On desktop, the menu appears vertically on the left side of the screen and can be nested up to three levels deep. On mobile, it appears horizontally at the top of the screen and switches to an icon when there are five or more items.
Source: Shopify Help Center: "Customizing customer accounts"
How does the login page domain (subdomain) appear?
By default, the login page URL takes the form "shopify.com/authentication/(your store ID)/login", and the customer account page URL takes the form "shopify.com/(your store ID)/account". If you create a subdomain for customer accounts and set it as the primary domain for customer accounts, the URL becomes "account.your-store.com" when your primary domain is "your-store.com".
When you change your primary domain, the customer accounts domain updates along with it. You check and change your primary domain in Settings > Domains in the admin. When you create a subdomain for customer accounts, that subdomain becomes the domain for all customer account pages, and customers open the login page from "account.your-store.com/authentication/login".
Sources: Shopify Help Center: "Customizing customer accounts" / Shopify Help Center: "Connecting a custom subdomain to customer accounts"
Can you add blocks or app pages to the account page?
Yes. In the editor, you can add blocks to existing customer account pages such as the Orders page, order summary, and Profile, and you can also add new pages provided by apps to customer accounts.
You create app pages from the Apps sidebar in the editor. For app pages that support direct links, you can add a link to the customer account menu from the editor or from the Menus page in the admin. You open pages you've added from the Added (「追加済み」) tab in the Apps sidebar or from the editor's page selector.
Source: Shopify Help Center: "Customizing customer accounts"
What do customers who haven't ordered yet see?
When customers who haven't ordered yet open the Orders page, they see a Shop now (「今すぐ購入」) button that takes them to your store's homepage. In addition to this button, you can show collections you choose from your store on the Orders page.
Select the Orders page in the editor's page selector and set this up in the No orders (「注文なし」) section of the Main settings. In the Collection menu, choose an existing collection from Select collection (「コレクションを選択」) or make a new one with Create collection (「コレクションを作成」), then save.
Source: Shopify Help Center: "Customizing customer accounts"
What more can you do on the Advanced Shopify and Shopify Plus plans?
On the Advanced or Plus plans, you can customize customer account pages for each market. Beyond branding, settings, and blocks, you can also change the customer account menu and the order action buttons for each market.
Stores selling in multiple countries and regions use this setting to add account features only for domestic customers, or to show a notice about shipping delays in international customers' accounts.
Source: Shopify Help Center: "Customizing customer accounts"
The order to work through the settings
The logo and colors in the shared branding settings also apply to the Sign-in page, and you can override them on the Sign-in page. Here are the settings in this article, listed in the order you work through them in the admin.
- In the admin, go to Settings > Checkout to open the editor, and set the logo and colors in the shared branding settings (they apply to the checkout pages, customer account pages, and Sign-in page)
- Select the Sign-in page in the page selector, and override the logo and color scheme for the login page only in the Logo and Colors sections of the Main settings
- In the Media section of the same Main settings, add a hero image (it only appears on desktop devices)
- Go to Content > Menus, open the Customer account main menu (「お客様アカウントのメインメニュー」), and edit the menu items
- In the admin, go to Settings > Customer accounts, click Change domain (「ドメインを変更」) under URL to create a subdomain, then in Settings > Domains set that subdomain as the primary domain for customer accounts
Sources: Shopify Help Center: "Customizing customer accounts" / Shopify Help Center: "Connecting a custom subdomain to customer accounts"
Related articles
- What you can change on the new customer accounts login page: logo, text, and CSS
- Sign-up forms for Shopify new customer accounts: 14 frequently asked questions
Frequently asked questions
Try Howdy free for 14 days
Along with setting the logo, colors, and hero image on your login page, you can add a sign-up form with Howdy. Fields collected with the sign-up form, such as birthdays and addresses, can appear as they are on a profile page styled in your brand colors. Our dedicated team creates your customer metafields, sets up your sign-up form fields, and places the blocks on your profile page for free.