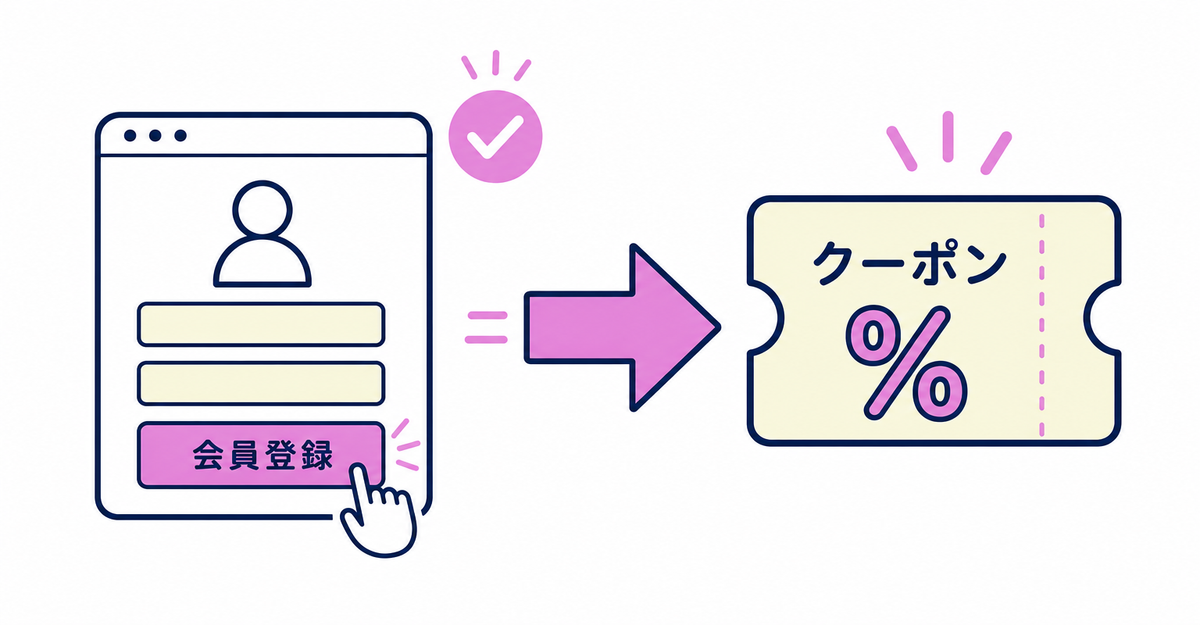
In short: To send customers to a page you choose right after they sign up through Howdy's sign-up form, select "Specify in code" in General Settings, then add the howdy-register-original-trigger-btn class and the data-register-redirect attribute to a button in your theme. Each button can have its own destination, so you can send only customers who sign up through a campaign page to a coupon page while the regular sign-up button takes customers to the profile page. The destination URL can also include Liquid variables and parameters, so you can return customers to the page they were on before signing up or measure results by sign-up source.
Key points
- Selecting "Specify in code" in General Settings lets you set a destination for each button in your theme code
- Destinations are set with the
howdy-register-original-trigger-btnclass and three attributes:data-register-redirect,data-login-redirect, anddata-already-loggedin - Each button can have its own destination, so you can send only customers who sign up through a campaign page to a coupon page
- Destination URLs can use Liquid variables such as
{{ request.path }}and{{ routes.account_url }}, so you can return customers to the page they were on before signing up - You can also add parameters to the destination URL and use them in your store's analytics
- You can add the same setup to existing buttons, such as the checkout button, by adding code that checks whether the customer is logged in
How do I automatically send customers to a specific page right after they sign up?
In Howdy's admin, select the "Specify in code" option in General Settings and save. This setting lets you set any destination in your theme code. Next, in your theme code, add the class and attribute below to the button you want to set a destination for.
<button
  class="howdy-register-original-trigger-btn"
  data-register-redirect="/pages/thanks"
>Sign up</button>
The howdy-register-original-trigger-btn class is required for Howdy to recognize the button as one with a custom destination. In data-register-redirect, enter the URL of the page customers should go to right after they finish signing up, as a relative or absolute path. When a customer finishes signing up from this button, they are automatically taken to that URL.
Source: Howdy Help: How to set the redirect after form submission in code (Japanese)
Can I set different destinations after sign-up and after login?
Yes. Set data-register-redirect (the destination after sign-up) and data-login-redirect (the destination after login) to different URLs on the same button, and customers who just signed up and customers who already had an account and logged in go to different pages. For customers who are already logged in when they click the button, set the destination with the data-already-loggedin attribute.
<button
  class="howdy-register-original-trigger-btn"
  data-login-redirect="/"
  data-register-redirect="/pages/thanks"
  data-already-loggedin="{{ routes.account_url }}"
>Button</button>
Each of the three attributes applies to customers in a different state.
| Attribute | Sets the destination for |
|---|---|
data-register-redirect |
Customers who finish signing up from the button |
data-login-redirect |
Customers who finish logging in from the button |
data-already-loggedin |
Customers who are already logged in when they click the button |
Source: Howdy Help: How to set the redirect after form submission in code (Japanese)
Can I send only customers who sign up from a campaign page to a coupon page?
Yes. You can add the howdy-register-original-trigger-btn class to multiple buttons and give each button its own data-register-redirect. Set the data-register-redirect of the button on your campaign page to the URL of the page that shows the coupon code, and leave the data-register-redirect of the regular sign-up buttons on your site set to the profile page URL. Customers who sign up through the campaign page then go to the coupon page, and everyone else goes to the profile page as usual. Each destination is set in the theme code where the button is placed, so if you prepare separate buttons for the campaign page and the other pages on your site, you can switch destinations just by editing each button's data-register-redirect.
<!-- Button on the campaign page -->
<button class="howdy-register-original-trigger-btn" data-register-redirect="/pages/coupon-code">Sign up for this campaign</button>

<!-- Regular sign-up button on your site -->
<button class="howdy-register-original-trigger-btn" data-register-redirect="{{ routes.account_url }}">Sign up</button>
Source: Howdy Help: How to set the redirect after form submission in code (Japanese)
Can the destination URL return customers to their previous page or include parameters?
Yes. If you set the destination URL to Liquid's {{ request.path }}, customers return to the page they were on before signing up or logging in. For example, customers who log in from a button on the cart page stay on the cart page after logging in.
<!-- Button that returns customers to the page they were on before signing up or logging in -->
<button class="howdy-register-original-trigger-btn" data-login-redirect="{{ request.path }}" data-register-redirect="{{ request.path }}">Button</button>
You can also add parameters to the destination URL, such as /thank-you?source=campaign_a&button_id=123, and use them in your store's analytics to see which button each sign-up came from. The data-already-loggedin attribute for customers who are already logged in also accepts Liquid variables such as {{ routes.account_url }}.
Source: Howdy Help: How to set the redirect after form submission in code (Japanese)
Can I apply this setting to existing buttons other than the sign-up form?
Yes. To add this setting to a button your theme already has, such as the checkout button, you need to check the customer's login status in your theme's Liquid code and show your own button with the howdy-register-original-trigger-btn class only to customers who are not logged in. Instead of editing the existing button directly, prepare a button that shows or hides depending on login status, and set attributes such as data-register-redirect and data-login-redirect on that button. If you are unsure about editing code, you can contact Howdy support (support@macro-micro.co.jp).
Source: Howdy Help: How to set the redirect after form submission in code (Japanese)
Related articles
- How to automate post-sign-up tasks with Shopify Flow: tagging and metafield updates
- How to add a sign-up form to new customer accounts (Howdy)
Frequently asked questions
Try Howdy free for 14 days
To set post-sign-up destinations in code, switch Howdy's General Settings and add a class and attributes to buttons in your theme. Howdy's dedicated team creates your customer metafields, sets up your sign-up form fields, and places your profile page blocks for free.